Well, I finally got my first attempt at aging paper sealed & cut finished. I have actually been done since Sat, but my kids have been sick & work has been crazy busy, so this is the first chance I have gotten to get it posted. This project was actually a lot of fun! I really enjoyed "painting" my paper with tea and experimenting with adding coffee & salt... I am really happy with the way they turned out. (You can click them to make them larger)
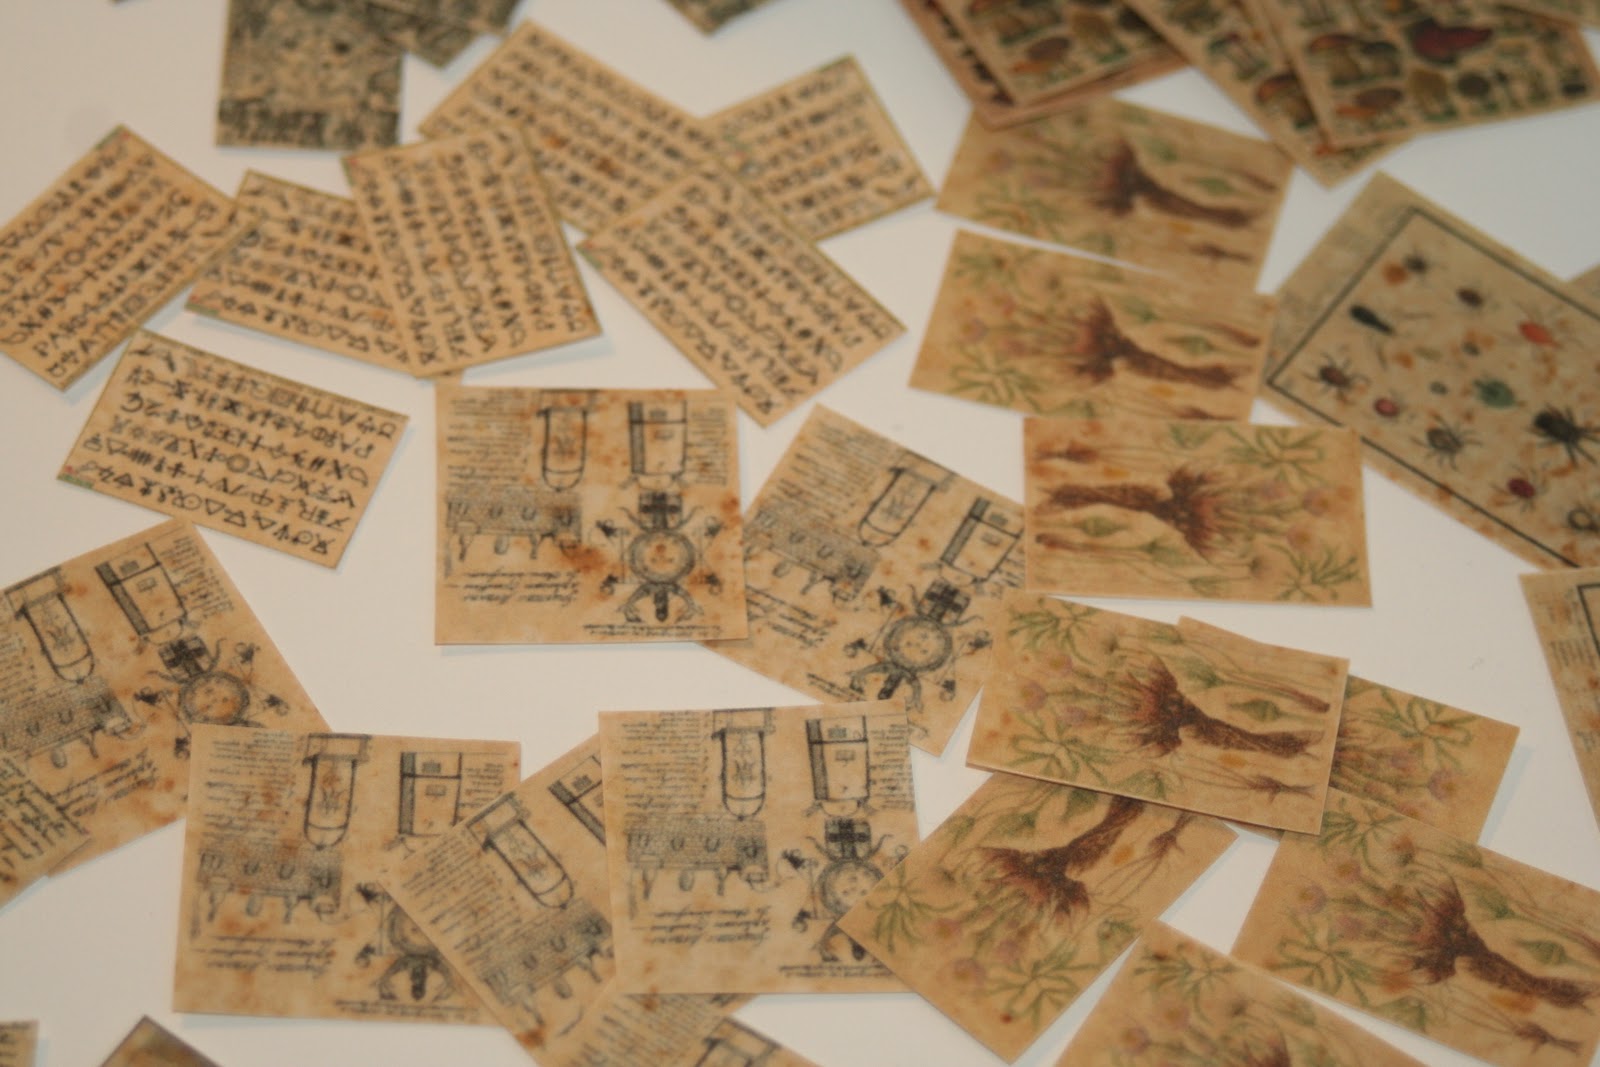
These are all my little parchments...I have no idea what on earth I will do with all of them, but they sure are cute!
On this one and the next one you can really see the ages spots well... I am most happy with those!
I think before I actually use them in my scene, I will dirty up the edges a bit or burn them a little to get a more authentic feel to them. Next time I want to do some little stacks of blank parchment and some scrolls, I think that would a be a lot of fun, and I need some anyway!
Well, I don't have much spare time, so I will post again soon!
Take Care!


Love your aged paper :-)
ReplyDeleteThe parchment has come out beautifully. I made a batch myself this week and my family thought I was cooking up the worst dinner in the world by the smell of the paper baking in the oven!
ReplyDeleteI got a tip ages ago that might be helpful to you for further aging.
To burn the edges without setting the whole piece up in flames, use the tip of a lighted joss stick. Just run it along the edge of the paper.
Great shelf unit too, does the job!
Janice, I did not know I was supposed to put it in the oven! I just let mine air dry.... I had read about using the joss sticks, I just need to get to the dollar store & get some!
ReplyDeleteI really am loving my shelf unit... the drawers are almost all done.... :)